I know that last month I promised to show you a Thanksgiving table runner this week, but I just couldn’t resist starting my Christmas sewing. I love this present quilt! It is very happy, almost whimsical, and you can make this pattern for any occasion, using happy birthday colors, baby colors, really, anything you want. And this quilt is fairly easy to put together.
First, I cut all my pieces: four squares, three pieces of “ribbon,” two “bows,” and sashing for each present. (The sashing is the white fabric that surrounds every present.) 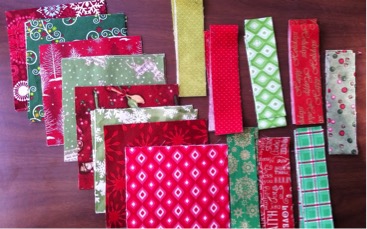
Then I started sewing. I sewed a ribbon piece onto a square by chain piecing, meaning I sewed one right after the other, no stopping or cutting thread in between pieces. This is a very fast way to piece quilting blocks.
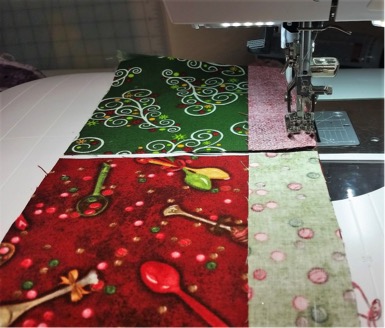
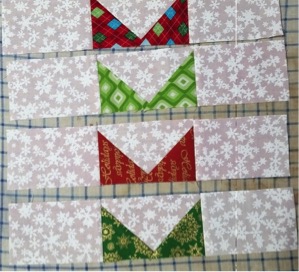
Below are some of the sewn ribbon pieces and squares.
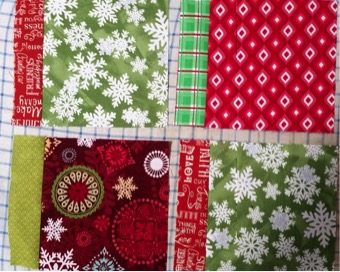
Next, I put each present together. The one in the photo below is ready for the middle ribbon.
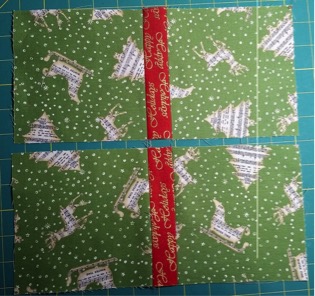
After the ribbons were finished, each present needed a bow.
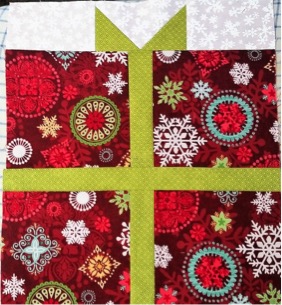
Here is a finished present with its bow.
After I had sewn all nine presents, I laid them on my kitchen table to decide which present should sit next to which. And I discovered a mistake I could neither ignore nor camouflage. Ugh. Can you see it?
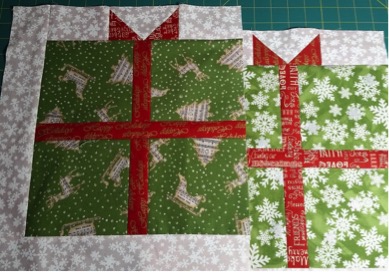
Yes, putting the correct ribbons with the correct bows involved lots of sighing and unpicking and sighing and resewing. Below is a photo of all the presents sewn together.
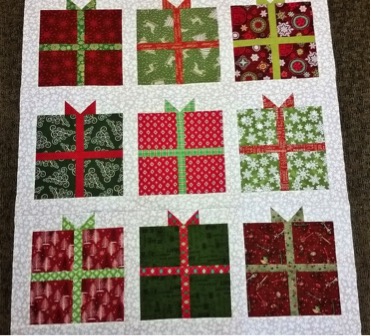
And after I added the border, my quilt top is finished.
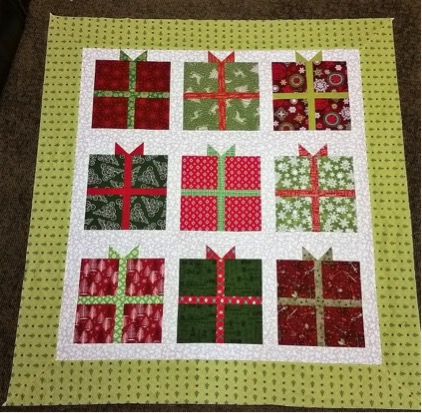
I hope to finish this quilt in the next few days by machine quilting and then binding everything. I’ll post a photo when I’m done. Next month, I’ll show you the mouse quilt where “not a creature is stirring.”
By Allison Sharp (Jennifer’s sister)

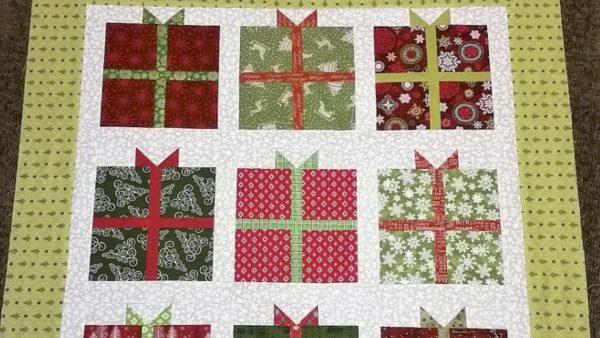




Wow!!! It is very pretty.
Thanks, Juanita. I love the fabrics she’s used.
Such a pretty quilt! May I ask the sizes of the cut fabric?
The squares that make the presents were cut at 5 1/2″ and finish at 5″. The ribbons were cut from 1 1/2″ strips and finish at 1″. The white background fabric was cut from 2 1/2″ strips to finish at 2″. The borders were cut from 5 1/2″ strips to finish at 5″. An easy way to make this quilt is to buy 4 of the same charm pack, which is a package of quilt squares pre-cut to 5″. With 4 packs, you will have one square in each pack that is the same. If you use these for the present squares, you will skip the step of cutting the present fabric. Let me know if you have anymore questions.
Big question. I am somewhat new to quilting and want to make this quilt. If a charm pack is 5 inches and precut at 5 inches why cut fabric at 5 1/2 or is charm pack really measured at 5 1/2 to give you 5 inches.
Great question. Charm pack squares are 5 inches, so their finished size is 4 1/2 inches. When you use them in this quilt, be aware that the quilt will be slightly smaller than if your squares finished at 5 inches. So instead of cutting your squares at 5 1/2 inches to finish at 5, your squares are pre-cut for you at 5 inches to finish at 4 1\2 inches. Let me know if that doesn’t make sense. Here’s another tip: instead of buying 4 of the same charm-square pack, buy 1 layer cake, which is a package of 10 inch squares. Cut each square into 4 pieces of 5 inches each, so cut the square in half in one direction and then the other. This is probably the easiest way to get your 4 squares.
So on this particular quilt (Present) if you cut at 5 1/2 inch squares the sashing lengths will be a different size than if charm pack was used.
Thank you for the quick and great response.
Yes. So if your charm square is 5 inches, the horizontal “ribbons” need to be cut at 1 1/2″ wide and 5″ long. Then they will fit the 5-inch charm square exactly. I will figure out the other measurements and email again.
Thank you so much I am trying to calculate the measurements for sashes, squares if I am cutting from 5 1/2 inch fabric. Thank you so much for all your help.
Sorry, I thought you were using charm packs! The horizontal ribbons will be 5 1/2″ by 1 1/2″ and the up-and-down ribbons will be 11 1/2″ by 1 1/2″. Cut the strips on either side of the bow 5″ long by 2 1/2″ wide, and then sew as I mentioned above. I had completely forgotten about this quilt! Now I think I’ll see if I can get it quilted. Thanks for making me think about it.
I don’t generally use charm packs or layer cakes because then I am stuck with the fabric choices of someone else, but when I’m really in a hurry (like a quilt needs to be done in 3 weeks, before the third weekend in October), I use a layer cake because then I don’t spent hours agonizing over fabric decisions.
Is this maybe backwards that the horizontal are the 11 1/2 and the up and down are the 5 1/2. This is how it looks in picture. Just a thought.
Yes! You’re right.
The ribbon running straight up and down in the present should 10 1/2″ long and 1 1/2″ wide. The top of the present where you attach the bow will also be 10 1/2″ long. The finished width of the bow itself is 4″, so I would make the white fabric on each side of the bow about 4″ long and 2 1/2″ wide. Then after you sew the entire bow piece together, sew that strip onto the present. Make sure you put the bow in the middle. You will have extra fabric on each end of the bow strip, so sew the strip, press it, and then cut it to fit. That is an easy way to make sure your measurements are exactly right–because you didn’t have to measure!
I see you don’t monetize your website, don’t waste your traffic,
you can earn additional bucks every month because you’ve got hi quality content.
If you want to know how to make extra bucks, search for: Mertiso’s tips best adsense alternative