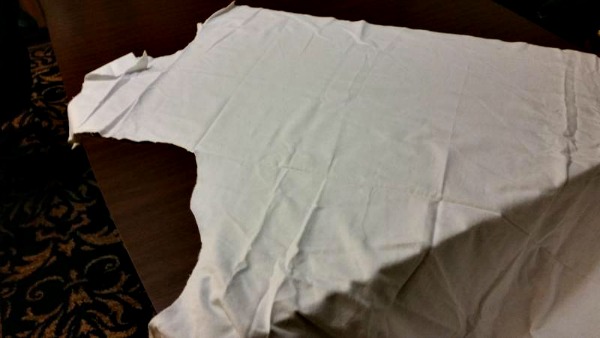
Welcome to week 2 of the Quilting Bee where it is time to make the kind of quilt sandwich that enables stellar quilting. First, make sure your quilt top is even and square. (We talked about this last week. Click here to see that post.) Now, find a spot in your house that is flat and larger than the quilt. I’m using my kitchen table. Because this quilt is going to be a table runner, I decided to use a thin piece of flannel for batting, something that will give the quilting a little more definition, but nothing so puffy that a vase of flowers wobbles on top of it. Spread the flannel on your flat surface. You’ll notice that I didn’t even bother to press the flannel or cut it to fit the quilt. The wrinkles won’t make a bit of difference, and as along as the flannel is at least 2″ larger than the quilt on all 4 sides, you can cut the flannel later.
Let me pause here to say a few words about quilt backs. If I am making a quilt where no one is likely to see the back, like a wall hanging or table runner, I make the back out of muslin or scrap fabric that I want to get rid of. (I save the fabric I love for the fronts of the quilts.) Consequently, because the back of this table runner will be seen only rarely, I have picked a plain piece of pink fabric that I’m glad to use up.
Put the quilt backing on top of the flannel, right side UP, so you can see the pretty side.
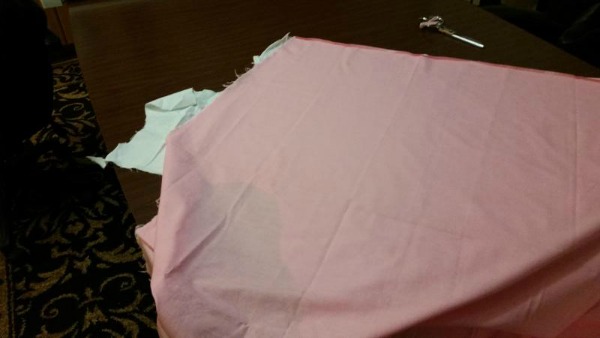
I will admit that I did press this fabric, though I obviously didn’t do a very good job. But again, it’s not going to matter. You’ll also notice that I haven’t cut the back to any particular size. Like the flannel, at this point, it just needs to be about 2 inches bigger on all 4 sides than the quilt top. Fold back half of the backing fabric.
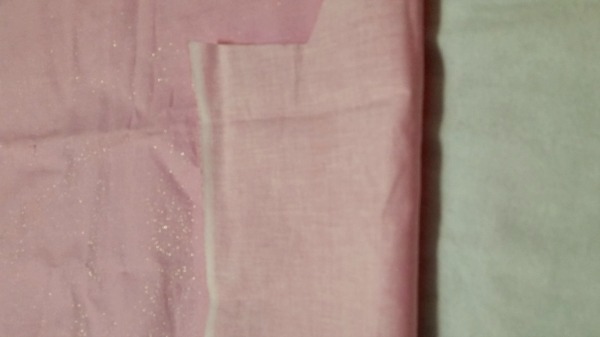
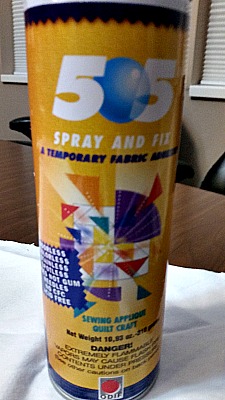
Now spray the half of the flannel you just uncovered with a thin layer of spray-on fabric adhesive. (This is the brand I used—mostly because this is the brand I happen to have. Follow the the manufacturer’s directions.)
Slowly fold the fabric back down on the flannel, smoothing as you go so there are no air bubbles or wrinkles.
Then fold up the other half of the backing fabric, spray adhesive on the flannel, and then smooth down the backing. You will notice that the spray adhesive works well, and if you have done a good smoothing job, you will have a flat piece of backing fabric stuck to your flannel.
Now put the quilt top on top of the backing fabric. The quilt top is RIGHT SIDE DOWN. This is very important if you don’t wish to spend an hour crying and unpicking. Make sure that you can see a small amount of flannel and backing fabric around the quilt top. Again, we are trying to avoid tears. Do not use the spray adhesive to adhere the quilt top to the back.
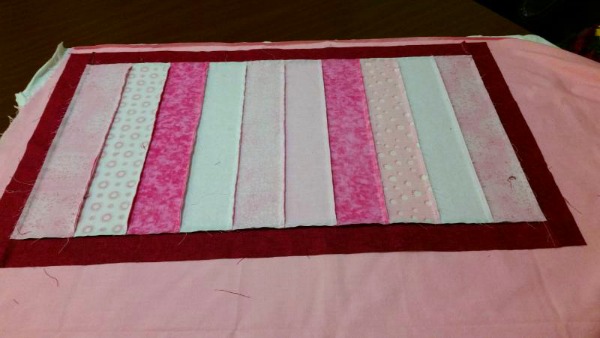
Put some pins in the border to make sure that nothing moves, and then carefully cut around the edge of the quilt top, through the backing and flannel. You will be surprised at how well all the layers stick together.
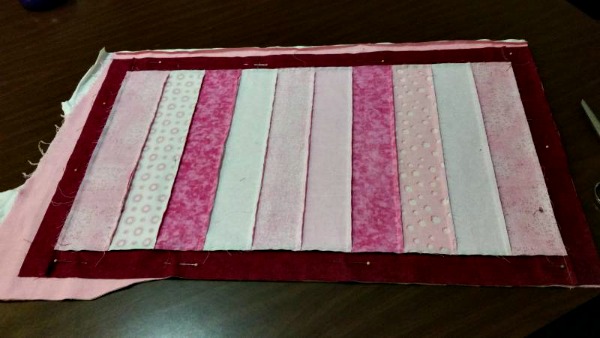
When you are all finished, you will have a neat and tidy quilt sandwich.
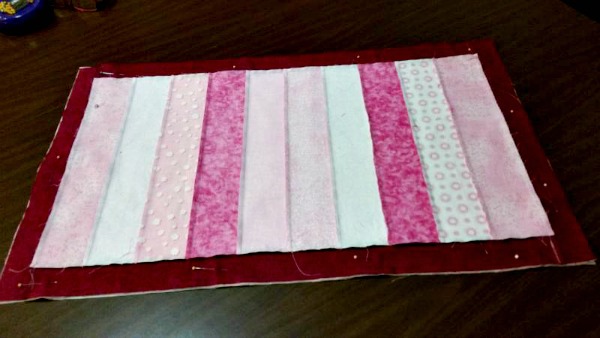
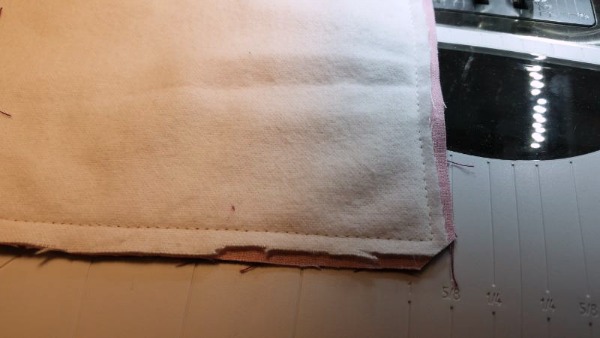
Now sew 1/4″ all around the outside edge of the quilt, sewing through all three layers. Leave about a 6″ gap in the middle of one side. Back stitch on both sides of the gap. Now, turn the quilt sandwich over and grade your seam allowance. (Do you remember doing that in Home Ec in Junior High? Wait, I mean to say that I am far too young to have taken Home Ec in Junior High, but I know women who did.) You grade a seam allowance by cutting one layer of fabric closer to the seam than the other layers of fabric. In the photo below, you will see that I have trimmed the flannel closer to the seam than the back of the quilt. I have also trimmed the corner, cutting it flat. Both the grading and the trimming help cut down bulk and make the quilt look better when you turn it right sides out.
Now using that 6″ gap, turn the quilt right side out. The quilt top should be on top, and the backing should be on the back, right side showing. The flannel will be in the middle of the quilt. After the right sides are outside, give the entire quilt a good press, especially the edges that you have just turned. Make sure that the back of the quilt doesn’t show around the edges. See how nice it looks once it’s turned and pressed?
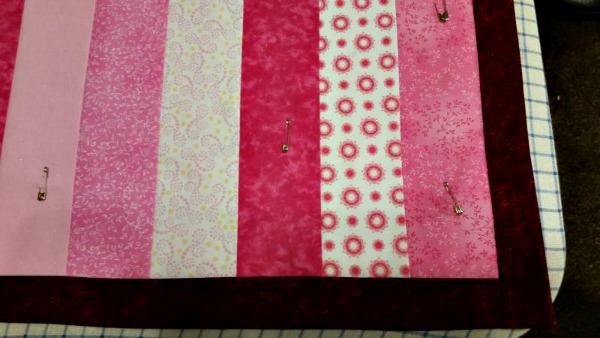
The backing and flannel are still stuck together with the spray adhesive. And the wrong side of the quilt top is now sitting next to the flannel and so is unlikely to move or shift. (Remember flannel boards? They worked on this same concept: fabric sticks to flannel.) I added a few safety pins, just to be sure nothing moves, and notice that I’ve put them in the middle of the strips so they won’t be in the way when I quilt.
Some of you are thinking, “Is she remembering that she still has a 6″ gap in the side of her quilt? Is she going to close that gap with hand sewing? I hate hand sewing.” Yes and no: yes, I’m remembering the gap, and no, I’m not going to hand-stitch it closed. Notice in the photo below that I’ve carefully pinned it closed. Don’t be afraid to use several pins here.
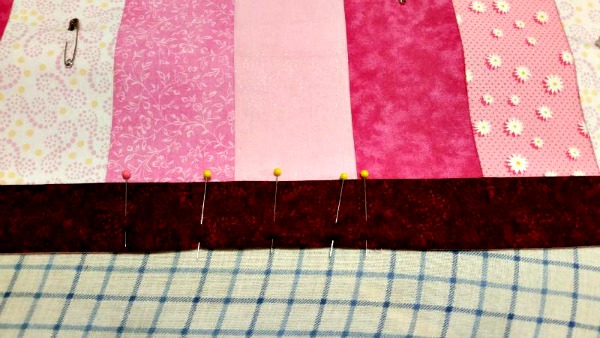
Find thread in a color that closely matches the border fabric, and put that thread in the top of your sewing machine. Use thread in the bobbin that closely matches the back of the quilt. Stitch the gap with the machine, staying as close to the edge of the border as you can. In the photo below, they’re highlighted a bit so you can see them, but in real life it’s difficult to see the stitches because they are close to the edge and the same color as the border.
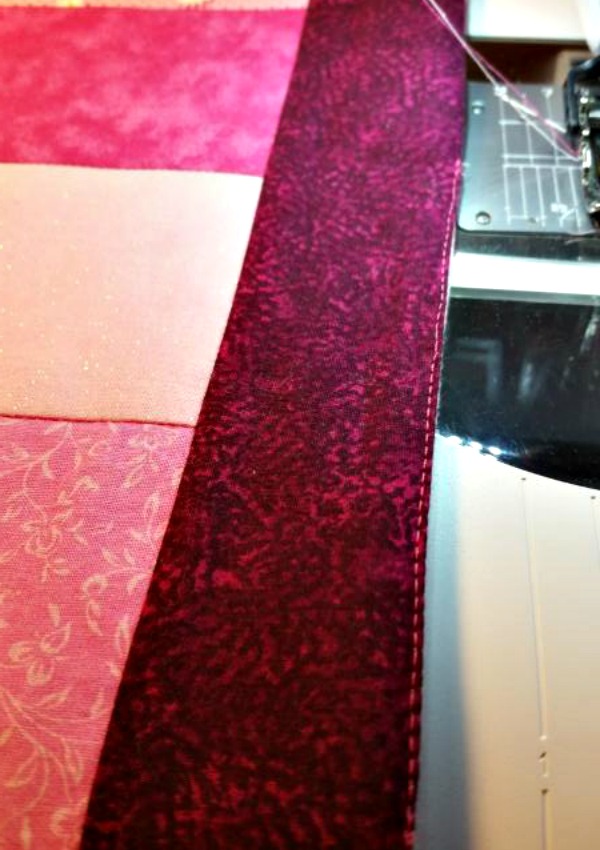
Next week we start my favorite part: machine quilting straight lines. You’re thinking, “This doesn’t sound very interesting. I thought machine quilted involved lots of circles and turning and crying.” Au contraire, mes amis. Join me next week for this-is-so-great-I-can’t-wait-to-do-it-again machine quilting.
If you have any questions, please leave them in the comments section. See you next week!

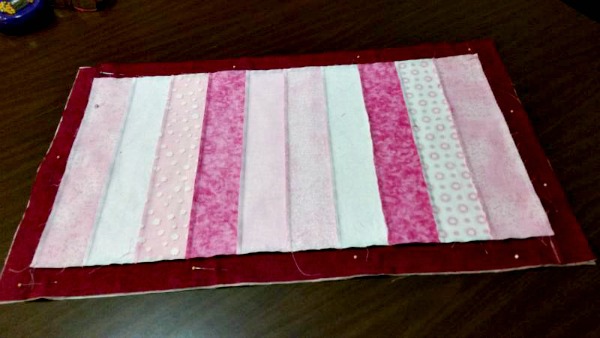




Jennifer….this is so darling. I am going to make several of these for our Mother and Daughter Luncheon. They will be just darling with mis-matched teacups and plates. I don’t know what stitched you used to demonstrate going around the edges, but it is darling in a contrasting color. It almost takes on the look of old fashion back stitching. Would you let me know what stitch it is or length? Thanks …I have loved this Quilting Blog…Hugs
Candi, in the post that comes out tomorrow, my sister explains how she machine quilts the runner. She uses a special stitch on her machine that looks like an elongated heart. She has a fancy machine with lots of different stitches. I have a flower stitch on my machine that is very pretty. You are welcome to come up and use my machine. 🙂 That will be so cute for the luncheon! I’ve got lots of fabric if you need it.
Candi, I’m so glad you like the table runner! I have a Bernina 770QE. The heart stitch is number 413. The stitch length recommended by my machine is 1.85. I made it longer, about 2. I experimented with the length on some test fabric until I got the look I wanted. In the post that came out today, I talk about a way to make more than one runner at a time. Check it out, and let me know if you have questions. I can give you more tips about making several runners at once, if that will help you. Good quilting!