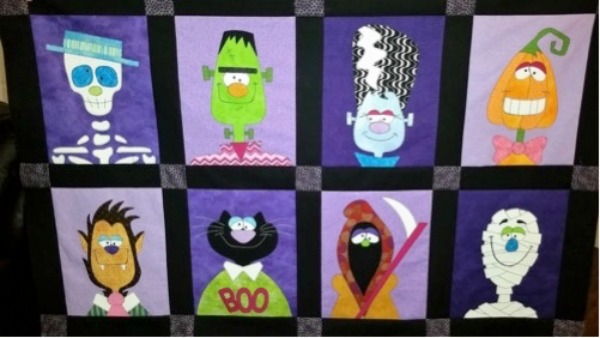
Happy Halloween, fellow quilt lovers! And just in time for this fun holiday, here is the finished Halloween quilt top I promised to show you: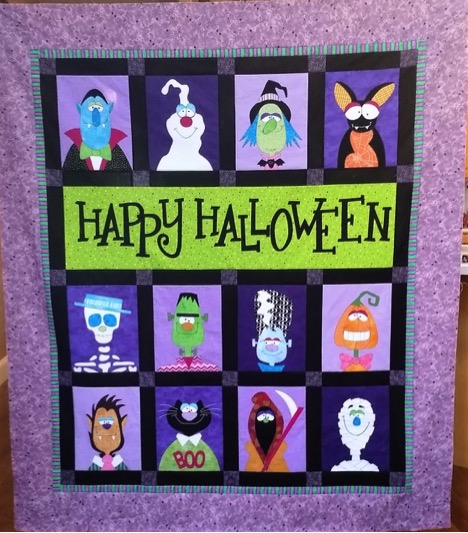
I love it! I think it is worth all the time it took create. And guess what was the hardest part of the quilt? Creating the long, green panel that says, “Happy Halloween.” Appliqueing the letters themselves was a little time-consuming, but not really difficult.
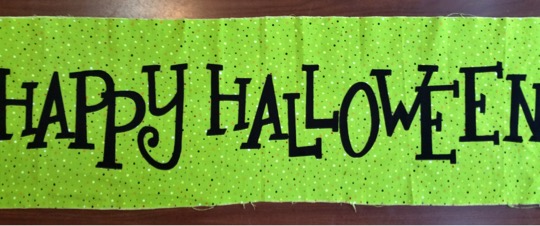
The fusible webbing on the back of each letter allowed me to position the letters and then iron them in place. Once they were stuck on the fabric, I outlined each letter with a blanket stitch. Yes, appliqueing black fabric with black thread is ideal because it’s so hard to see any sloppy stitching.
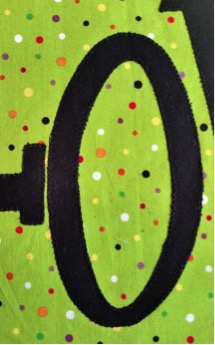
Once the letters were sewn in place, the hardest step, the thing that should have taken one minute but actually took 30, the part I ended up doing again and again, was cutting the green panel into a straight, even rectangle. The panel was supposed to measure 11 inches wide, but ended up 10 inches wide because I kept trimming and trimming, trying to get a straight line. Argh.
Sewing the rest of the quilt was rather straight forward. I cut all the border pieces so that the entire quilt was ready to assemble.
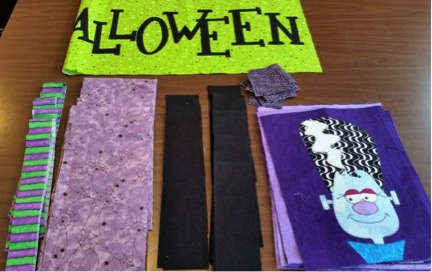
Then I sewed the black borders and small purple-black squares around the character blocks. (The technical name for the black borders is “sashing” and for the blocks, “posts.”)
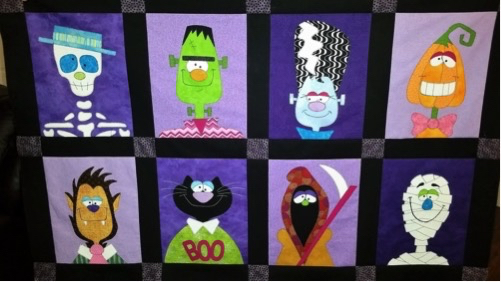
I added the green panel to the bottom of the first row of characters.
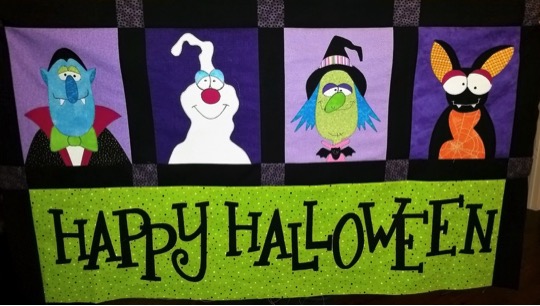
Below is a photo with the completed blocks, sashings, and posts.
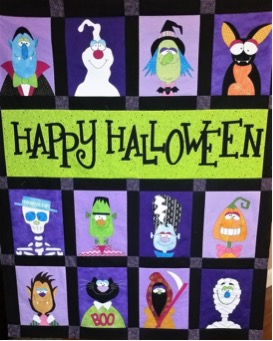
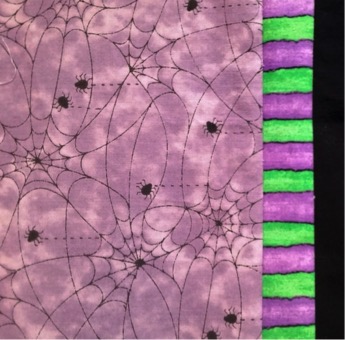
The last step was sewing on the striped inner border and then the larger outer border. Below is a close-up of the inner border. The striped fabric is a bright and fun addition to the quilt.
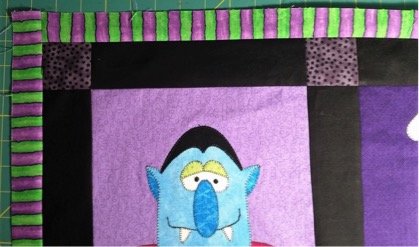
The outer border is printed with spiders and webs.
I have loved creating this Halloween quilt. My whole house feels more cheery with this quilt in the family room. Join me here next month for a simple quilted Thanksgiving table runner. And have fun, tonight, with your trick-or-treaters!




That is a really cute quilt. You have a lot of work in it. QWe didn’t have any little or big trick or treaters. But I did enjoy watching DWTS earlier this evening. Hope you & your family had a nice Halloween Evening.
Thanks, Juanita. We had a very relaxing Halloween evening eating candy and watching Poldark. 🙂 We don’t get many trick or treaters up our street so we handed out full sized candy bars.