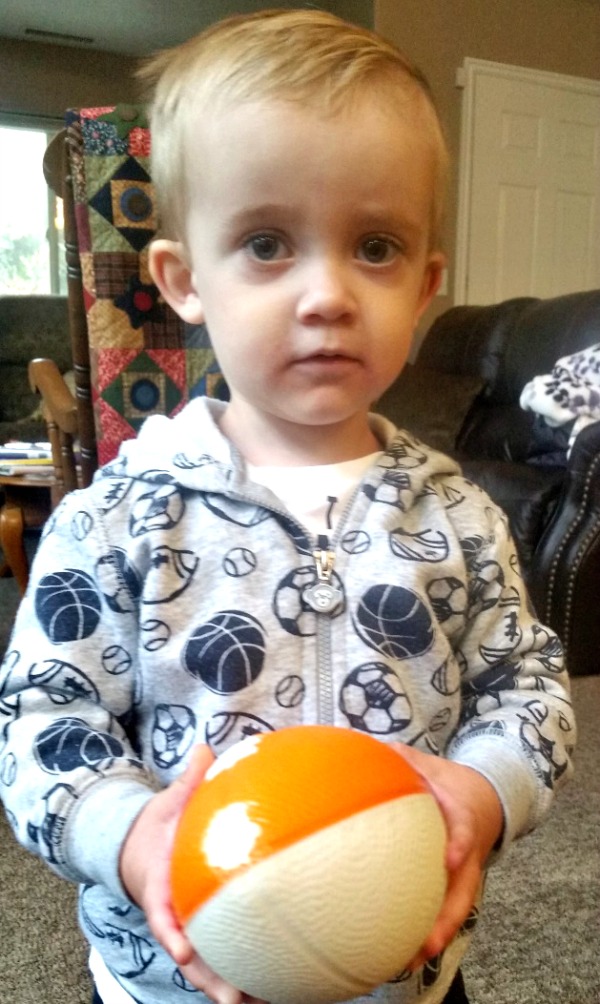
A few weeks ago, my niece Jessica asked if I would help her make a quilted wall hanging for her toddler’s new bedroom. In the photo below, he’s holding his favorite ball, wearing his favorite jacket, trying to decide if he approves of having his picture taken.
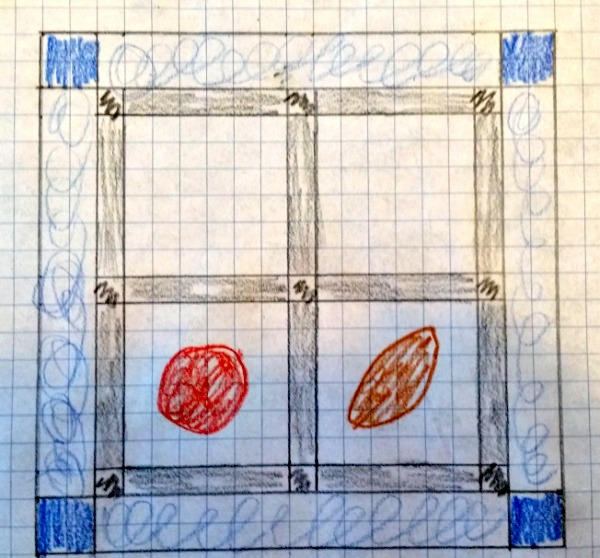
This little guy loves balls, so Jessica decided to make a small quilt with fabric pictures of four different balls. Below is my rough sketch of the quilt on graph paper. (Yes, the orange and brown blobs are supposed to be balls.) I always design quilts on graph paper because the grid lines make it easy to figure out how much fabric I need and what size to cut each square and rectangle. One square on the paper is equal to one square inch of fabric.
Jessica then decided on the color scheme and purchased fabric.
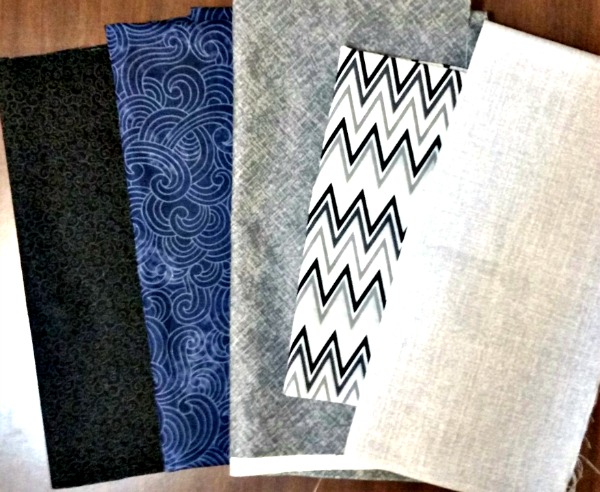
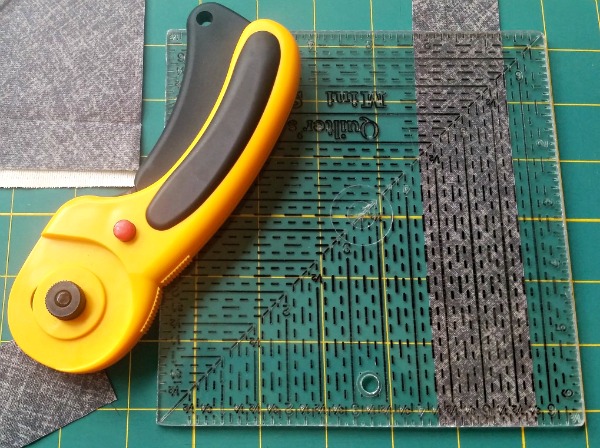
I cut the fabric into the correct size and number of squares and rectangles.
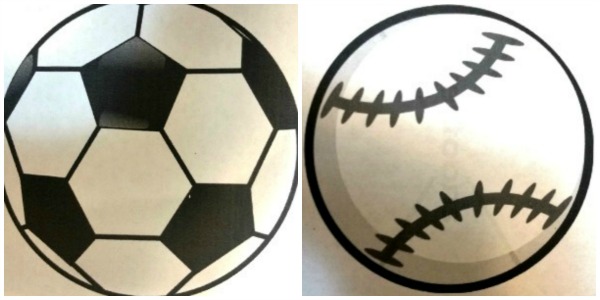
And Jessica found on the internet some simple pictures of the balls she wanted on her quilt.
After this preliminary work, we were ready to make the quilt. Jessica wanted to host a quilting party and invite family and friends to help us create the quilt squares. Quilting parties are absolutely delightful. Some guests stay the entire party, and others drop in when they can, but everyone loves the chance to chat, eat, and be creative with beautiful fabric. By lunch time, our party included ten women and five children under five. (It was a rather, um, loud and messy party.) Jessica made sandwiches, and Grandma brought cake. (Grandmas are the best people on the planet.)
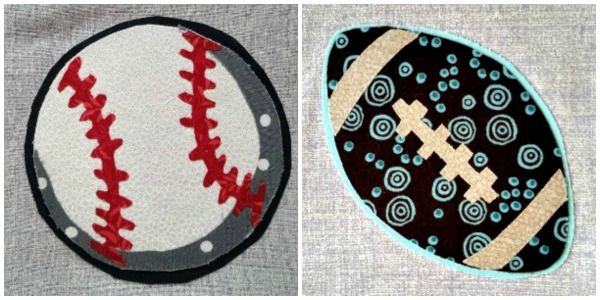
Jessica asked each (adult) guest to help her create the balls for the quilt. We used Steam-a-Seam 2, a fusible web, to adhere pieces of fabric together to create four unique, colorful, and charming balls. I love the teal and brown fabric Jessica’s mom used to make the football. Real footballs would be much more attractive with a little teal.
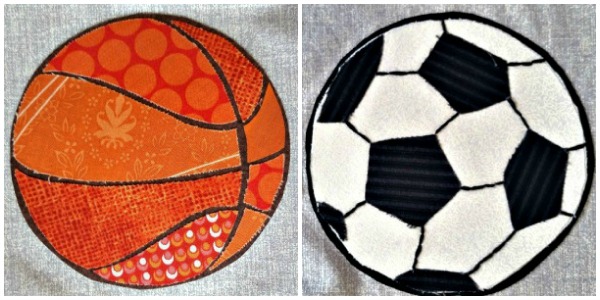
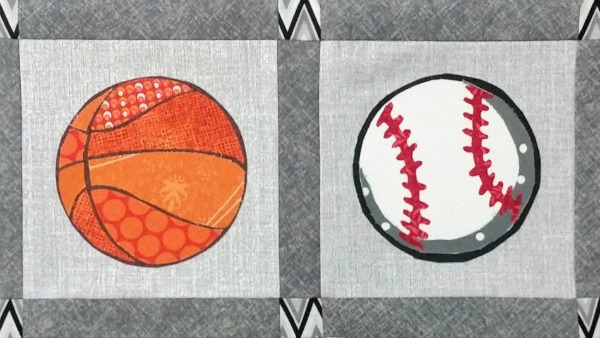
Below are the soccer and basketball. The “seams” on the soccer ball were hand sewn by Jessica’s mother-in-law. And I love the different orange fabrics on the basketball.
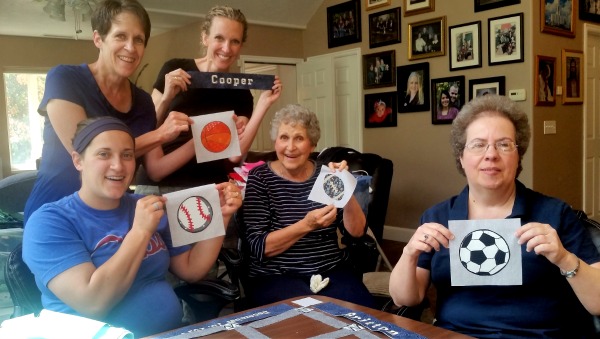
Here is a photo of some of the guests. Jessica is holding the baseball.
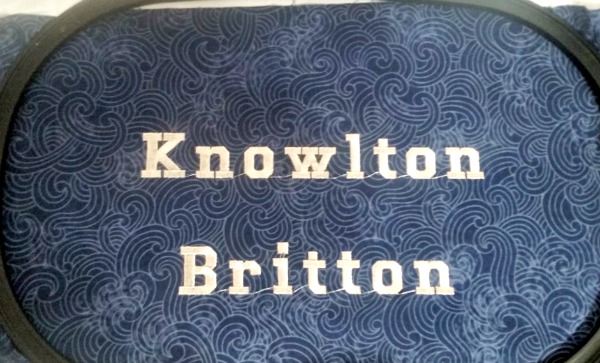
After everyone left, I had two jobs: add the toddler’s name to the quilt and sew all the pieces of the quilt together. Below are two of the embroidered names, still sitting in the embroidery hoop and before being cut into strips.
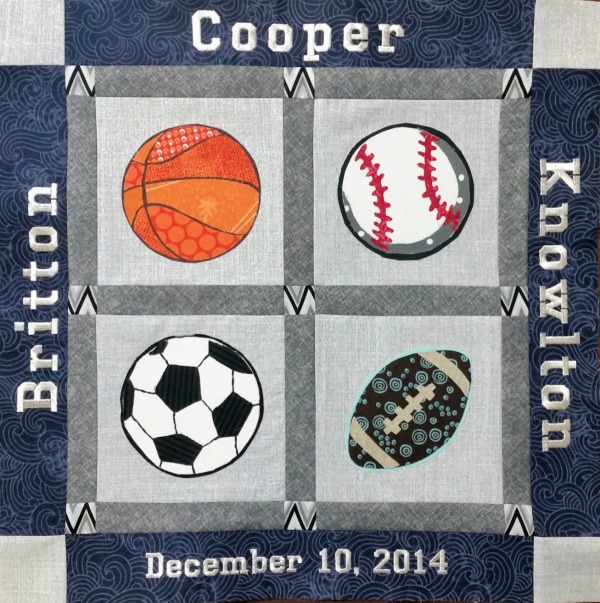
Here’s the finished quilt top. Jessica loved it! It will be a great addition to her toddler’s new room.
On Thursday, we will have an old-fashioned quilting bee and hand-quilt the top, batting, and backing together. If you are in Mapleton, you’re welcome to join us. And yes, there will be lots of small children, food, and fun.





Loving the step-by-step directions and pictures! All the hints are so helpful too! I hope you’ll post a picture either of the quilting party or the completed quilted wall hanging (or both????).
Judy,
I am sure you’ll get a picture of the finished product. We love quilting bees. 🙂