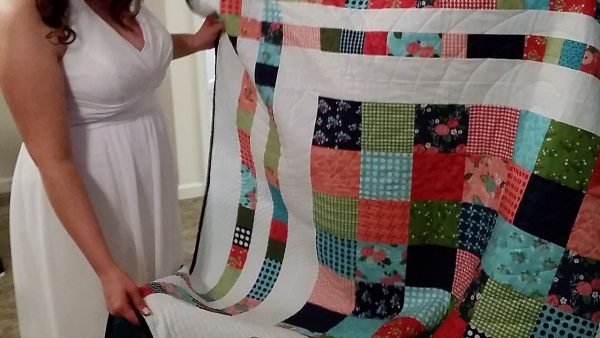
 Every once in a while, I make a gift quilt that I love so much that it is hard to give away. (I usually tell the recipients that if they don’t like it, they can give it back, but, so far, no one has actually done that.) The quilt in the photo above is one of these quilts, and it was a gift for one of my brothers-in-law and his new bride. I love the colors, the asymmetrical placing of the squares, and the spiral quilting.
This quilt pattern was created by Dawna Caplin, and after I saw a photo of her finished quilt on Pinterest, I decided to make one, but a little larger than hers. Dawna did not include a pattern for the quilt, so I created my own. This is not as hard as it sounds, especially if the quilt is made of only squares and rectangles. I drew the quilt on graph paper, each square representing two inches.

After the quilt is sketched on graph paper, it is relatively easy to then figure out what sizes of squares and rectangles to cut.
One of the hardest parts of quilting for me is choosing the fabric, so I decided to streamline this process by buying a “layer cake,” a package of pre-cut, 10-inch quilt squares of matching fabrics. (You can purchase layer cakes online or at most quilt shops. Mine contained fabrics by Moda.) The photo below shows one of the squares.

I cut each of the squares in half horizontally and then vertically, giving me four 5-inch squares from each larger square.

I took 49 of the squares, arranged them into 7 rows of 7, and then sewed them together. This large square measured about 31.75 x 31.75 inches.

My next step was to piece together the long strips of squares and rectangles that sit above and to the left of the large, pieced square. I took some of my 5 x 5 inch squares and cut them in half, giving me 2 ½ x 5 inch rectangles.
I cut some of those rectangles in half to make 2 ½ inch squares, and I then had a large pile of rectangles and squares.

I sewed these into long strips, trying not to think too much about the pieces I sewed next to each other, except to make them different.
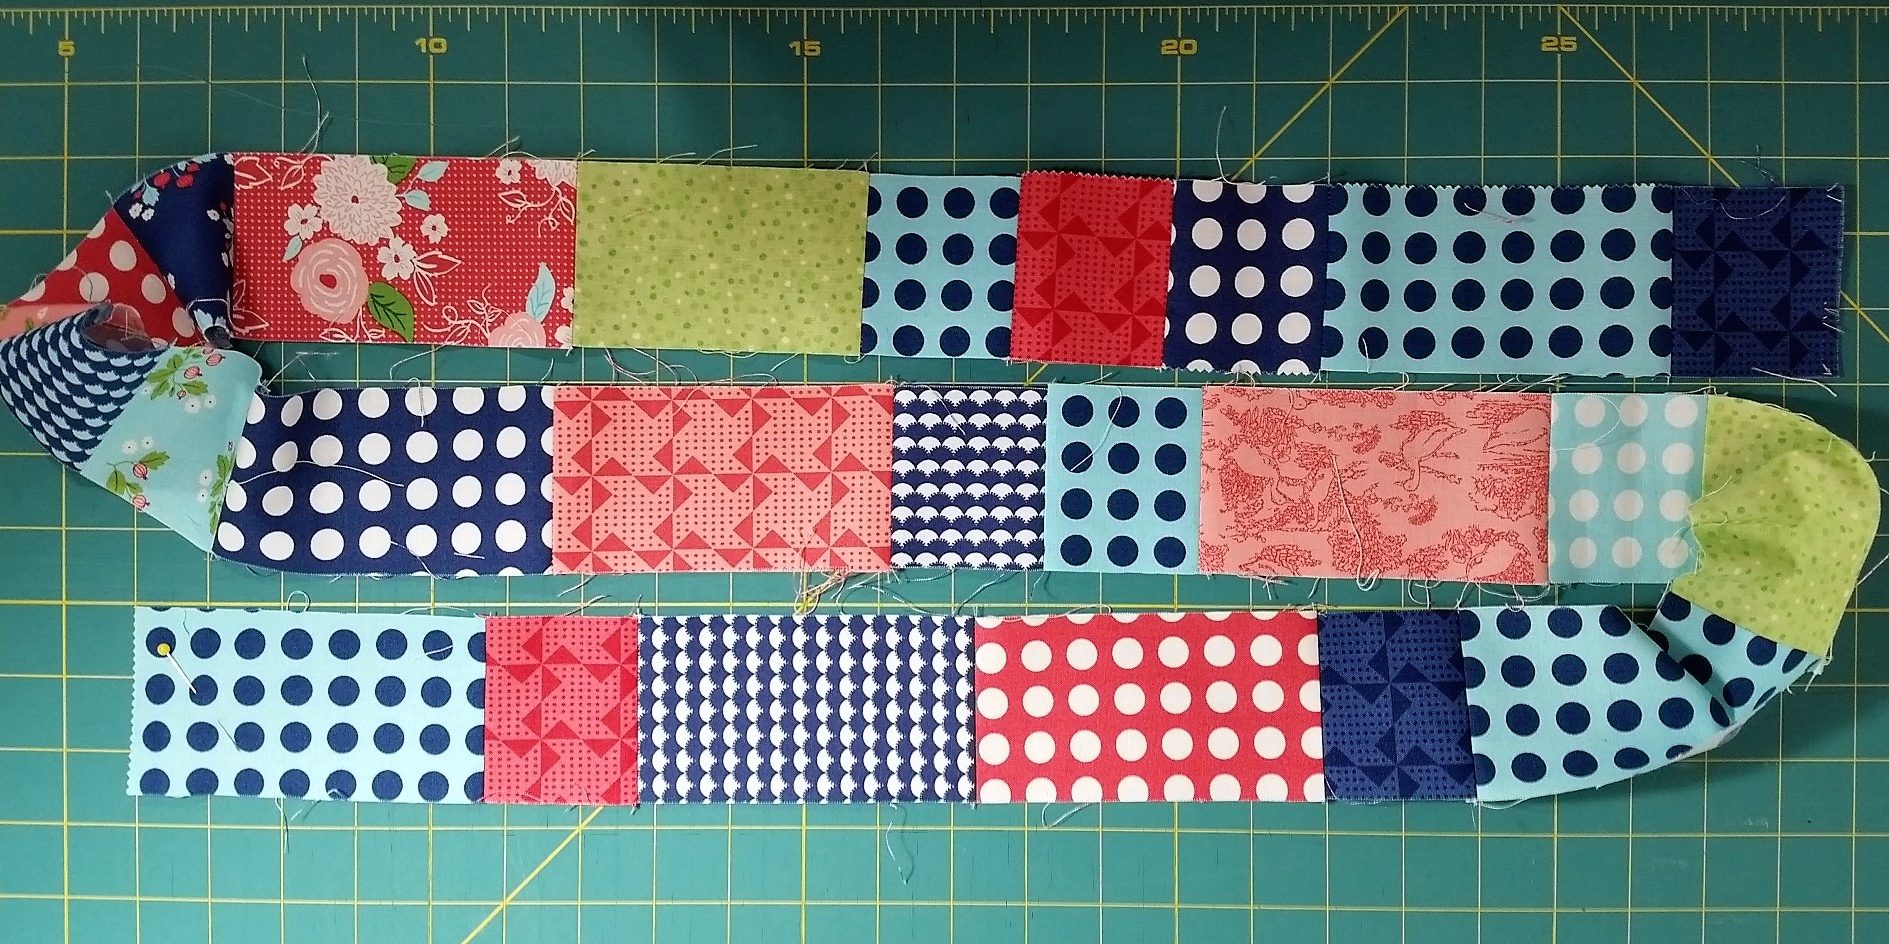
I sewed four strips, about 65 inches each, knowing that I would trim them to fit the quilt. I also sewed the intersecting strips that sit in the top left of the quilt.

I wanted to add the names of the bride and groom to the bottom of the quilt, along with the date of their wedding, so my daughter very nicely agreed to embroider them with her wonderful embroidery machine.
Finally, I put all of these pieces of the quilt on my kitchen table, added white border fabric, arranged everything exactly the way I wanted, and pinned the pieces in place. (There are probably better ways to put this quilt together, but this method worked for me.) After sewing all the pieces together, I was left with this beautiful quilt top:

The original quilt on Pinterest by Dawna Caplin was machine quilted with one large spiral, starting in the middle of the quilt. I decided to quilt five smaller spirals of different sizes, putting the center of each in random spots on the quilt. (Quilting the spirals, by the way, was trickier than I thought it would be, so if you decide you want to try it, ask me for some tips.) These spirals are easier to see on the back of the quilt, and yes, I added two strips to the back because I still had a lot of rectangles and small squares hanging about the sewing room.

I love the quilted spirals. You can also see the quilt label in the photo above. I bound the quilt in a dark blue, and I think the finished results are stunning. The photos below show close-ups of the quilting.

I absolutely love this quilt! And I will be trying quilted spirals again.
I am in the middle of many, many quilts, so I have no idea what I will post next month, but I hope you’ll join me. You will not want to miss the purple flannel baby quilt, the growing number of strip quilts, or even the Lord of the Rings quilt, which will probably be a surprise to everyone, including me.
*If you want to see Dawna’s original quilt, click here.



Beautiful quilt. You do such beautiful work on the quilts you make.
Thanks, Juanita. This quilt is one of my favorites.
Beautiful quilt. One day I would love to learn to quilt.
I love quilting! I hope you get a chance to learn.